One person had a pretty special gun and posted some pictures of it. On camera flash typically looks like crap for these kind of picture (actually most pictures). At some point he listened to someone and used another light source other than the on camera flash. I usually tell people to use natural light if possible (not direct sun light) and a tripod. Well back to the special gun. Like I said he turned off the on camera flash of his point & shoot camera. He used a lamp to light the gun. The following is one of the posted pictures.
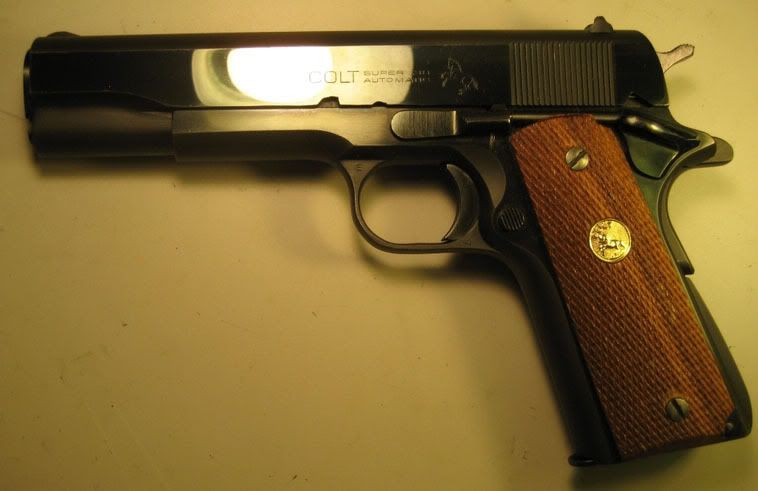
Pretty bad but much better than some. At least its not badly out of focus. So I had to reply to his post. I wrote the following.
Nice gun.Now I tempted to try my own advice. Someone want to lend me a gorgeous gun?
You should try putting a thin diffusing layer between the lamp and the gun. Something like a sheet of wax paper. At least about 12 inches wide. Have the lamp back enough so the light more or less covers the diffuser from end to end. Then set your camera's white balance to tungsten (incandescent lamp). This will give you a nicer image with shiny guns.
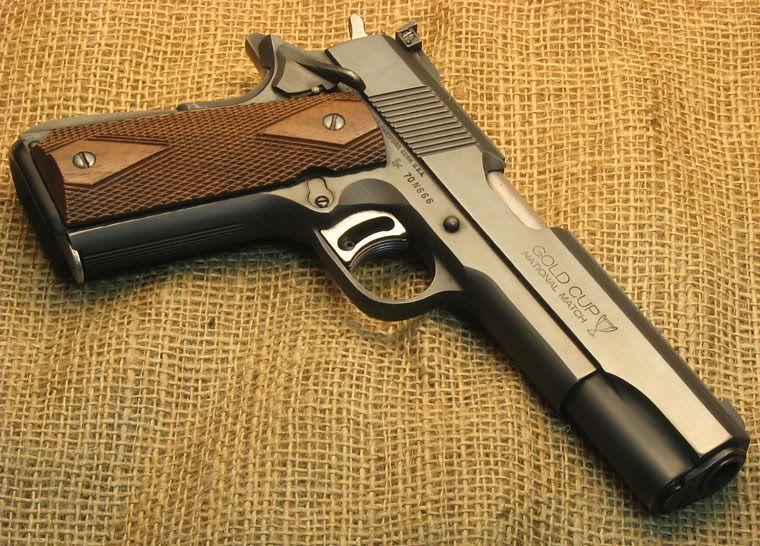
Remember that these are gun guys. I didn't want to suggest anything too fancy. The simpler the better. (that's why I typically suggest an overcast day or a north facing window) Well since I gave the advice I felt I had to show the results that you can obtain. One requirement was that I use a P&S camera. I want to show these guys you don't need special equipment.
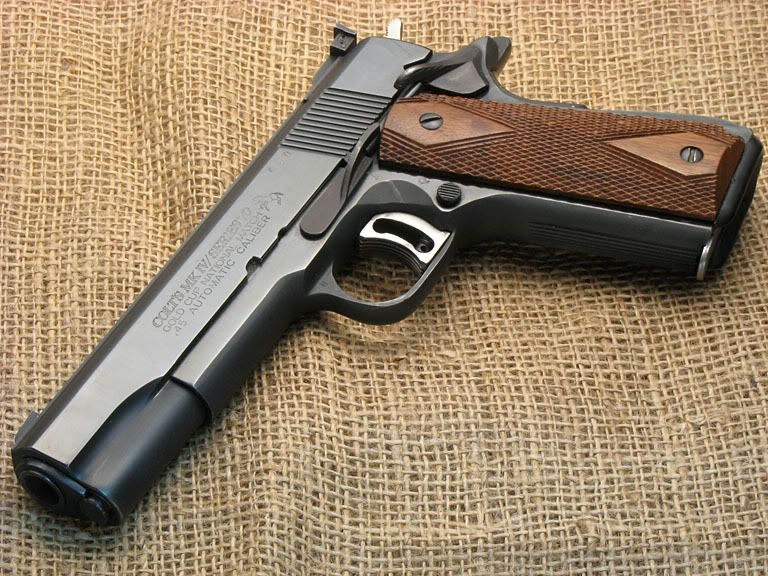
Earlier this evening prproulx posted some pictures of a gorgeous 1964 Colt .38 Super. Beautiful gun. The pictures were clear but the lighting could have been a little better. I gave him some suggestions for future photos. Afterwards I decided to follow my own advice and this is the result.

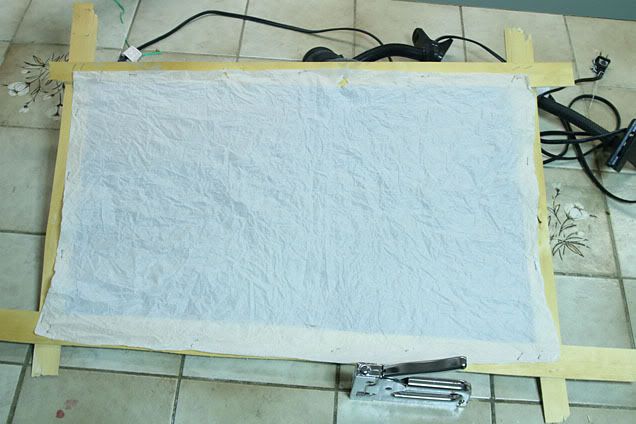
I wanted to keep it low tech. Anyone should be able to do this. I didn't have any wax paper like I suggested. I was going to cut up a big white plastic "The Bay" bag but I was still using it so I looked for something else. I'm not sure what it was from but it is like those tough white shipping envelopes that you can't tear open. This was the same kind of stuff but thinner. It actually did tear when I was stapling it (I was trying to stretch it).
The wood was some thin strips of :confused: something. Again some stuff I had laying around but I'm not sure why. :)
The lamps are a couple of 75 watt reflector bulbs. Regular bulbs would have worked as well but I had these so why not use them. Since I had two therefore I used two. One would also have worked but you would get half the light.
Ok, so I stapled the paper like sheet onto the wood strips. Kind of fragile but who cares. We are not going to use it as a kite. Then to hold it up I grabbed four pop bottles. I filled them with water to give them some weight, and placed the diffuser on the bottles so it was about a foot above the kitchen counter.
I then got a thin chunk of plywood and placed some burlap material on it. I used a couple of vegetable cans on the far end to get it to slope up at the rear. I then placed the gun on the burlap under the diffuser.
Now the diffuser is no good without lights to diffuse. I had the lights but I needed something to hold them above the diffuser. One more time to the basement. I grabbed my workmate and a 2x3 and then back up to the kitchen. I put the workmate at the end of the counter and slid in the 2x3. I then clamped on the two lights. This is the result.
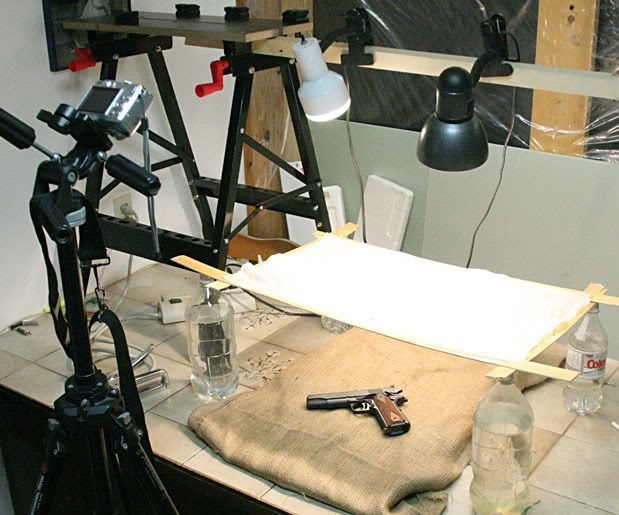
As you can see I have my P&S camera (Canon A570) on a tripod. The tripod cost me more than that camera. Any cheap tripod would do but I used what I had. Normally I would have done this on the floor of the living room rather than the kitchen counter. You need a tall tripod when you are starting higher up. I stood on a bar stool and was up against the ceiling to get the above shot.
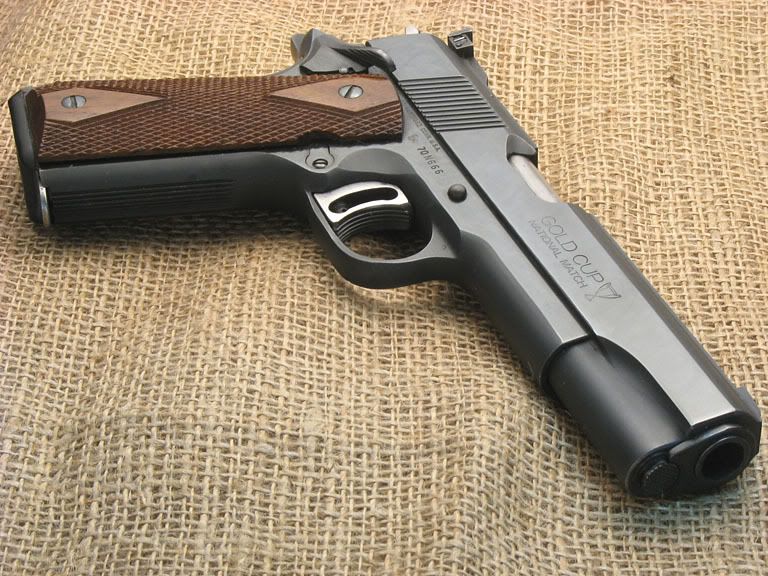
So the one thing that I didn't do was set my point & shoot camera for the tungsten (incandescent) setting. This caused the pictures of the gun to be more yellow than they are in reality but it doesn't look that bad as it is. It helps for me to be partially color blind.
I used my new point and shoot camera. The digital SLR was only used to take a picture of the setup above.
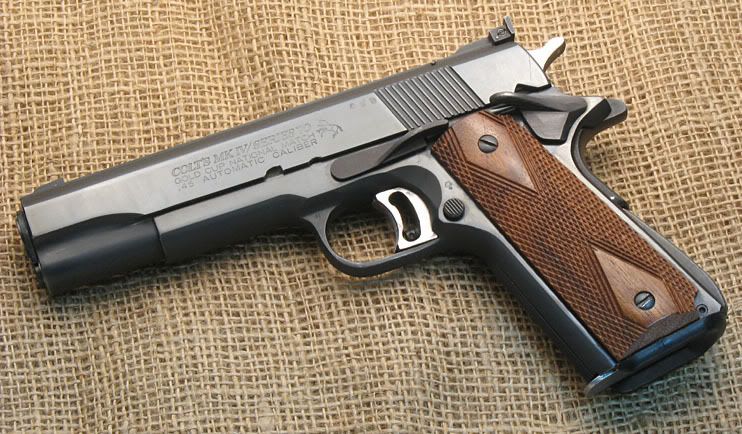
Since I didn't dismantle the setup I went back and set the camera to tungsten (bulb) setting for the color balance with the results below.
Really i appreciate the effort you made to share the knowledge.The topic here i found was really effective and useful.
ReplyDeleteretouche image